本地安装
vuePress 官方文档
首先使用官方的脚手架生成基本的项目结构
1
2
| pnpm create vuepress blog
|
项目结构
1
2
3
4
5
6
7
8
9
10
11
12
13
14
15
| ├── README.md
├── blog
│ └── \_posts
│ ├── 2018-11-7-frontmatter-in-vuepress-2.md
│ ├── 2018-11-7-frontmatter-in-vuepress-3.md
│ ├── 2018-11-7-frontmatter-in-vuepress.md
│ ├── 2019-2-26-markdown-slot-2.md
│ ├── 2019-2-26-markdown-slot-3.md
│ ├── 2019-2-26-markdown-slot-4.md
│ ├── 2019-2-26-markdown-slot.md
│ ├── 2019-5-6-writing-a-vuepress-theme-2.md
│ ├── 2019-5-6-writing-a-vuepress-theme-3.md
│ ├── 2019-5-6-writing-a-vuepress-theme-4.md
│ └── 2019-5-6-writing-a-vuepress-theme.md
└── package.json
|
其中_post 文件夹下面就是我们的博客,官方推荐我们使用日期作为文件名称
升级一下 package.json 版本
1
2
3
4
5
6
7
| pnpm up
"devDependencies": {
"@vuepress/theme-blog": "^2.3.3",
"vuepress": "^1.9.1"
}
|
部署
新建 deploy.sh
1
2
3
4
5
6
7
8
9
10
11
12
13
14
15
16
17
18
19
20
21
22
23
24
25
26
| #!/usr/bin/env sh
set -e
npm run build
cd blog/.vuepress/dist
git init
git add -A
git commit -m 'deploy'
git push -f git@github.com:<USERNAME>/<USERNAME>.github.io.git master:gh-pages
cd -
|
package.json 增加部署命令
1
2
3
4
5
| "scripts": {
"dev": "vuepress dev blog",
"build": "vuepress build blog",
"deploy": "bash deploy.sh"
}
|
github 静态 pages
新建仓库名称为 USERNAME.github.io 仓库
在仓库 Settings —> pages
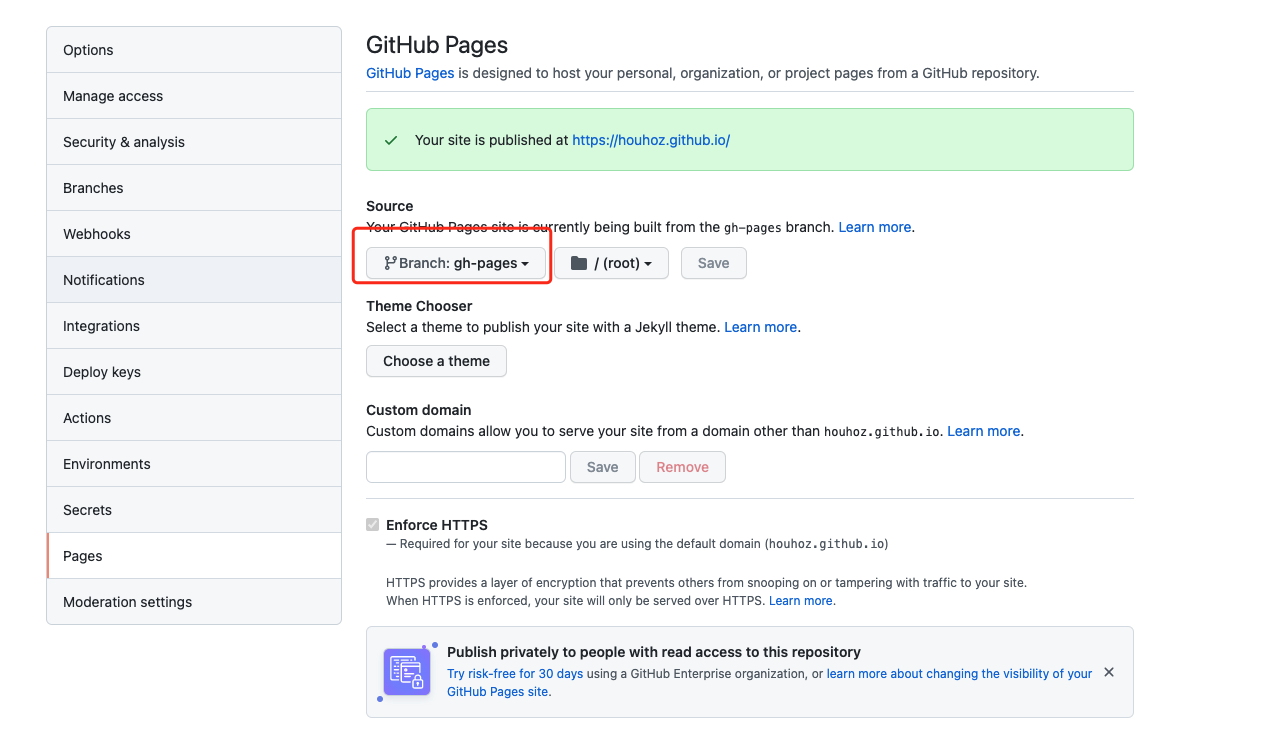
然后就可以访问 USERNAME.github.io